必要なもの
- Googleアカウント
- 画像のURL(Driveに格納している画像も可 ⇦ 今回はこれで)
- スプレッドシート(今回はスプレッドシートベースでアプリ作成)
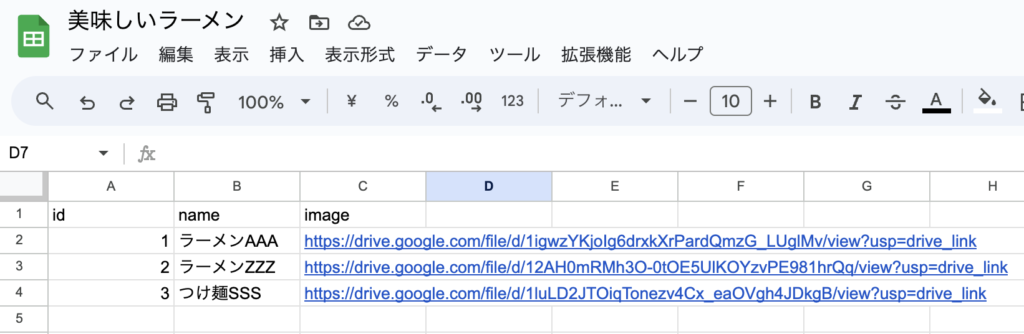
スプレッドシート内容
目次
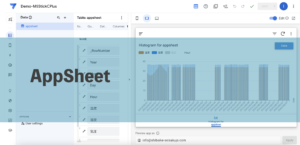
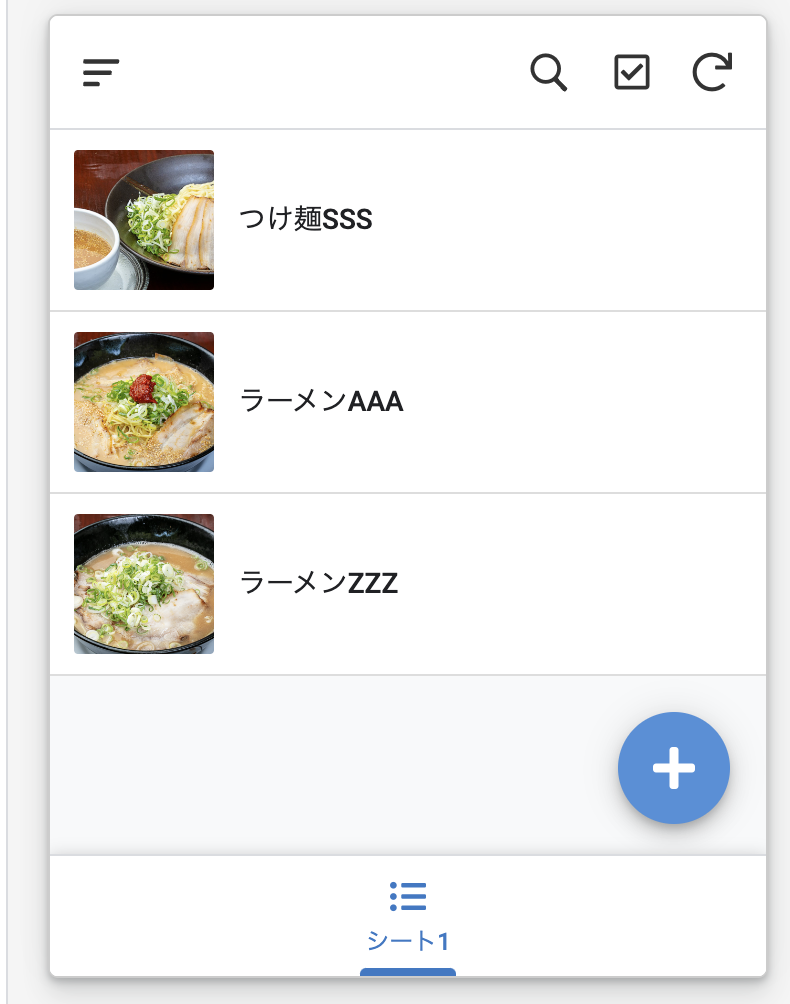
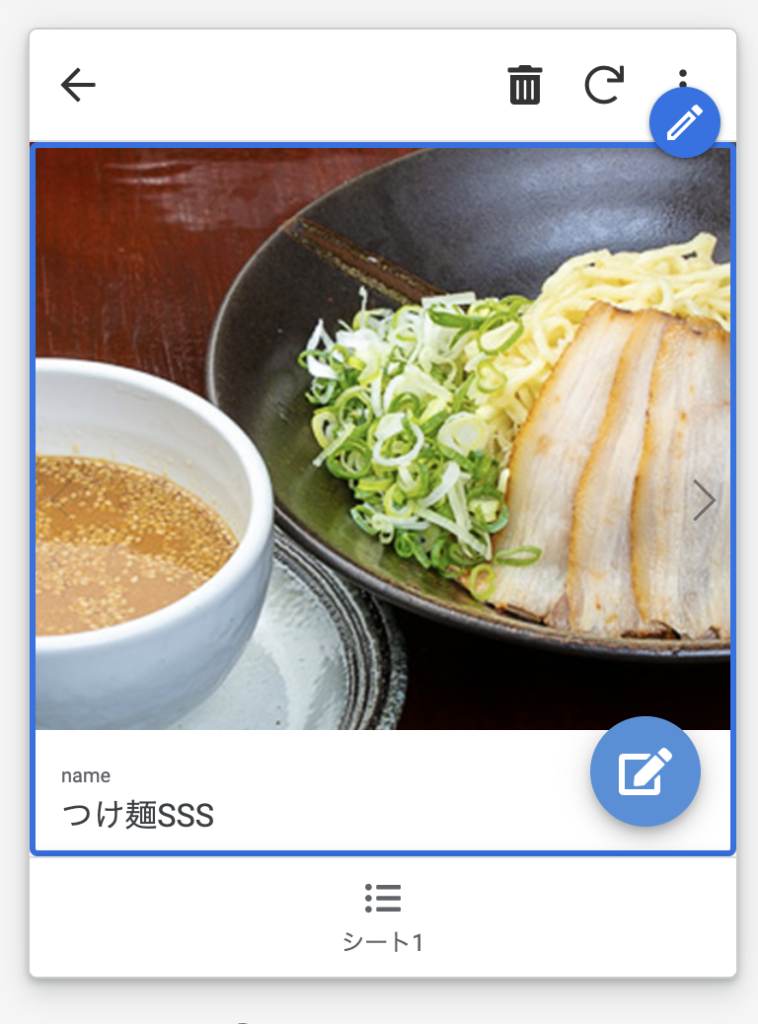
完成イメージ
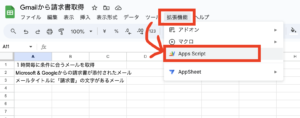
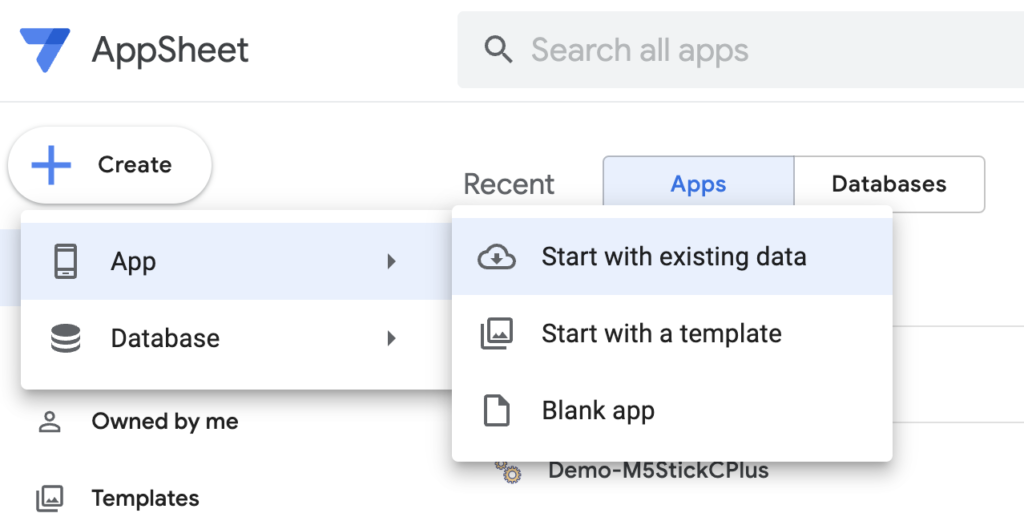
AppSheetから
+ Create > App > Start with existing data を選択
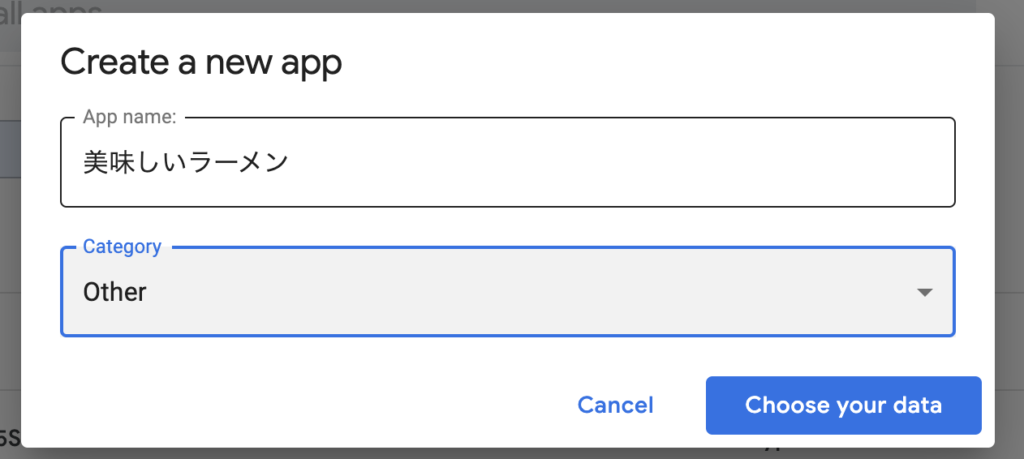
アプリの名前をつける
適当に名前をつけて「Choose your data」をクリック!
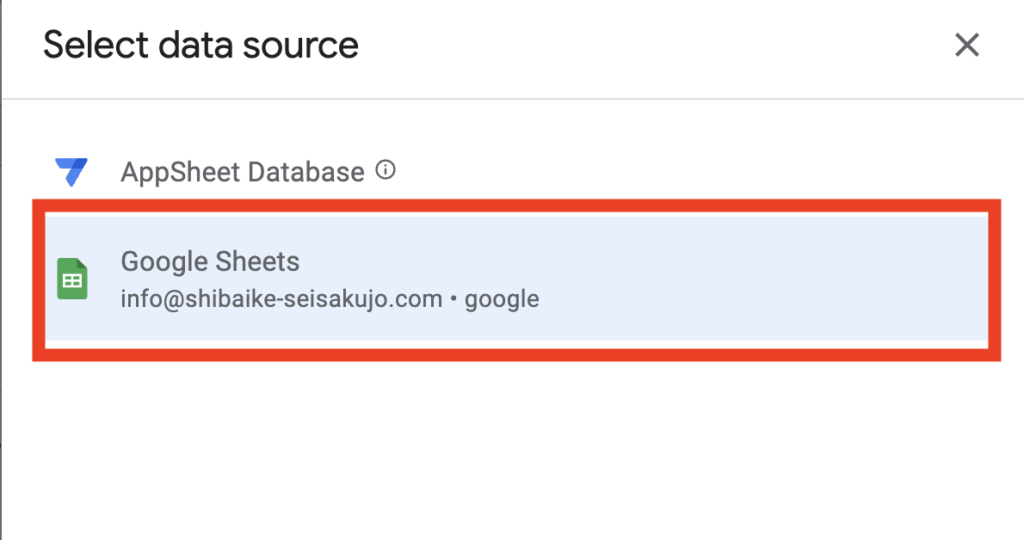
データを選ぶ
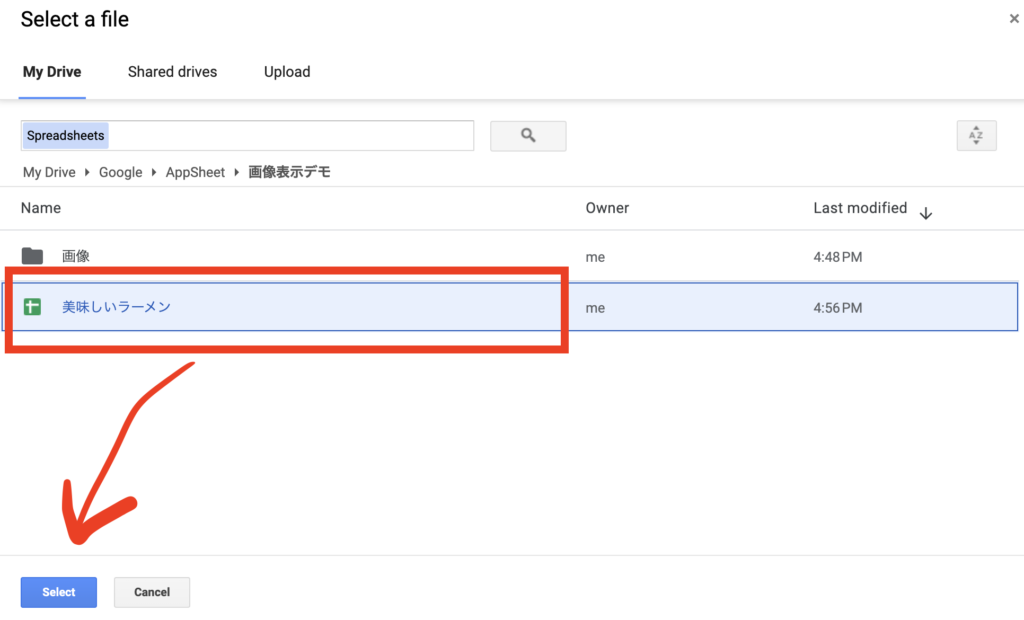
スプレッドシートを選んで
使いたいシートを選択
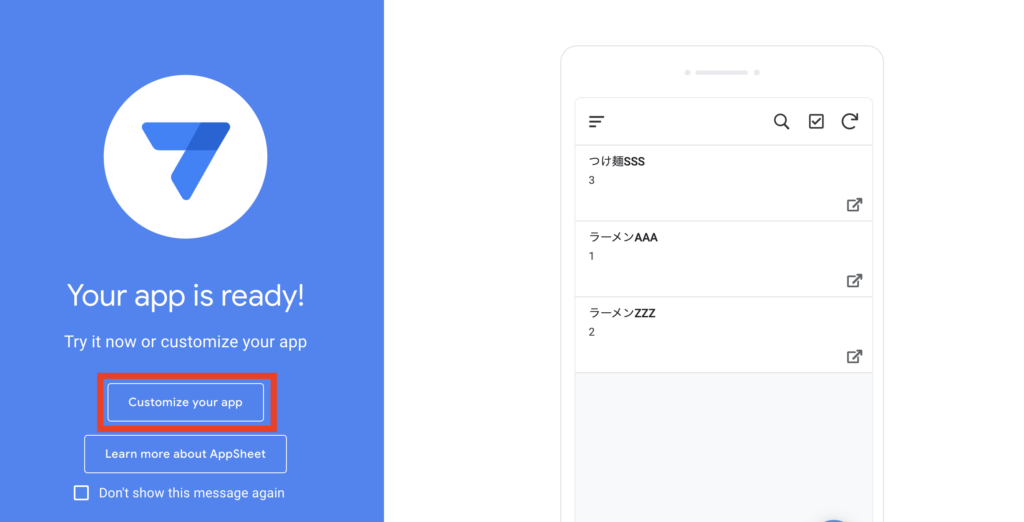
アプリをカスタマイズ!
「Customize your app」を選択
Imageのデータ型を確認
おそらくデフォルトでは「Url」になっていると思います。
これを「Image」に変更!!
画面左端のDataアイコンを選択し、Imageに変更し、「Save」
今回はGoogle Driveに保存してある画像を使用しており、そのままのURLを使用しても表示できません。
各画像のIDをメモし、()
以下のような形に書き換えましょう!
元のURL(マーカー部分がID)
https://drive.google.com/file/d/xxxxxxxxxxxxxxxxxxxxxxxxxx/view?usp=drive_link
表示させるためのURL
https://drive.google.com/xxxxxxxxxxxxxxxxxxxxxxxxxx

完成!!